


Listen to My Spotify Playlist
Follow Me on Instagram
Get Inspiration on Pinterest
Chat and Connect in Discord
What's in my tech toolkit | MSI MP161 portable monitor
Synology Router | Quality of Service (Traffic Control)
May News 2026 | Age verification is coming for everyone!

Synology Router | Quality of Service (Traffic Control)

Synology Router Traffic Control
Play

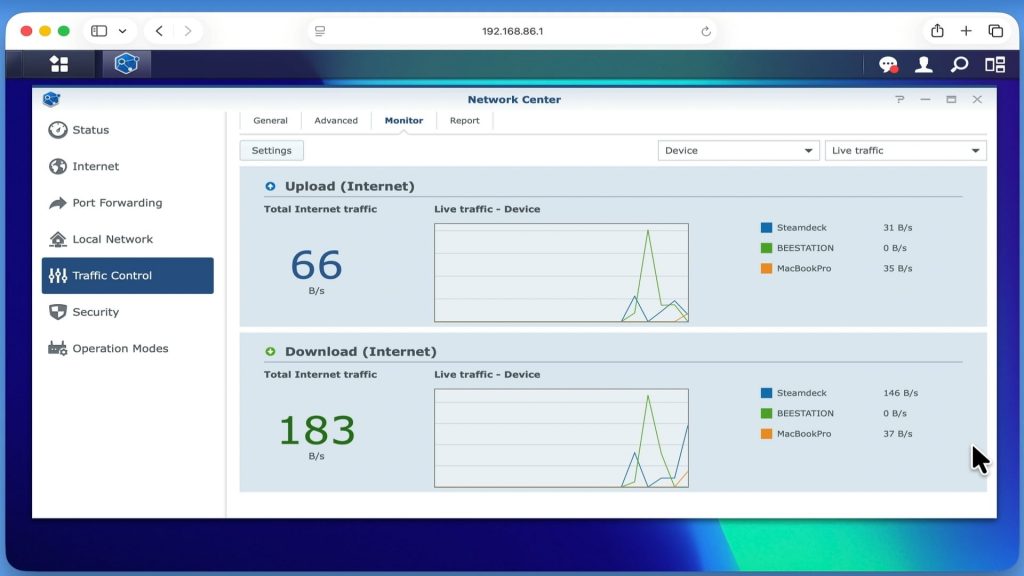
Quality of Service (QoS) or as its sometimes called Traffic Control. Is a way that you can monitor prioritise and control the internet bandwidth being used by devices connected to a router. So in this video we take a look at what settings and options are available on a Synology router to manage internet bandwidth.

Note: A typical home user, probably will have no need to use the settings in Traffic Control on a Synology router. That is unless they have very low internet bandwidth levels, for example an 8Mbps download and a 1 Mbps upload. As at these speeds, the quality of video streaming and online gaming can be adversely affected. You may also find that you need to control devices that are involved in file sharing. As that will also affect the speed and performance of your home network.

Note: The Ban function is very handy for preventing a specific device from accessing the internet. Something that we find useful, if we don’t recognise a device on our home network, and we want to prevent it from doing anything nefarious until we can check it out.

  • Sign into Synology Router Manager (SRM) using administrative credentials.
  • Locate and open Network Centre.
  • Using the sidebar in Network Centre click on Traffic Control.
  • Under the General tab you will find a list of the devices connected to your router.
  • Highlight the device you wish to ban, and click the Ban icon (world with line through it).
  • Sign into Synology Router Manager (SRM) using administrative credentials.
  • Locate and open Network Centre.
  • Using the sidebar in Network Centre click on Traffic Control.
  • Under the General tab you will find a list of the devices connected to your router.
  • Highlight the device you wish to set with custom speeds.
  • Click the Custom Speed icon (two parallel lines with dots on either side).
  • As a minimum set the Guaranteed upload and Download bandwidth for the device.

Note: As the values on your router are set in Kilobit per seconds and your broadband connection will be measured in Megabit per a seconds. Use an online value calculator like UnitConverters.net to work out your guaranteed upload and download speeds.

  • You may also want to set Maximum upload and download speeds as well.
  • Click OK.

Note: Unlike custom speed, High Priority allows you to give up to three devices first access to your internet bandwidth. Useful when playing games online, as you will need a consistent ping for lower latency.

  • Sign into Synology Router Manager (SRM) using administrative credentials.
  • Locate and open Network Centre.
  • Using the sidebar in Network Centre click on Traffic Control.
  • Under the General tab you will find a list of the device connected to your router.
  • Highlight the device you wish to ban, and click the High Priority icon (upward tending arrow).
Add a comment

Leave a Reply

Your email address will not be published. Required fields are marked *